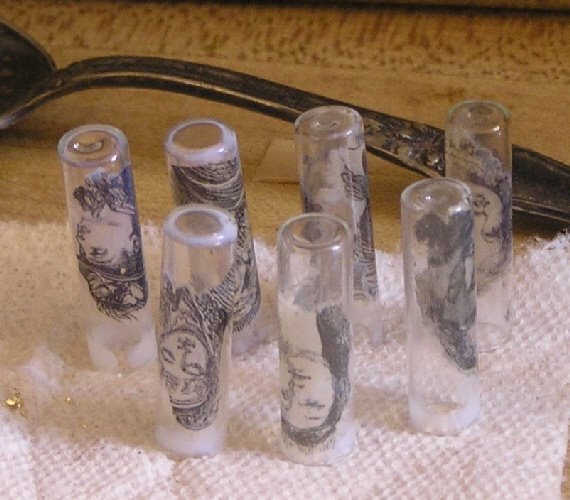
I just finished making 26 of these art charms and soon will be shipping 25 of them off to the host of a
MMCA charm swap I'm in.
I'm having a drawing on October 1st for the extra charm so if you are not in the MMCA swap and would like to enter just send me an e-mail (see my profile page) or leave a comment here and I'll put your name in the hat. And while you're at it let me know if you're interested in joining my mailing list, I'll be having a drawing for a different charm exclusively for those on my mailing list in a couple of weeks.
Don't forget to check out my
Etsy store. I've just added lots of new treasures for you to create with!
If you'd like to try your hand at making a charm of your own, just follow the instructions below.
Gather your supplies:
- Glass vial with cork stopper (I've used antique watchmakers vials)
- Pre 1909 image or text (must be this old to insure this technique will work)
- Any craft varnish
- Metal leaf adhesive
- E600 or small amount of epoxy
- Metal leaf
- Wire, bobby pin, or paper clip
- jump ring
Gather your tools:
- Cup of water
- Sewing needle
- Jewelers needle nose pliers
- Jewelers wire cutter
- Thin paint brush
- Dry paint brush with dense thick bristles
My work space tends to get very messy, so it helps to grab something to keep track of my smaller supplies. I like to pick up vintage mini muffin tins at estate sales:

Gather the images you will be working with & cut or tear around the section you will use for your charm:

You will need to thin the paper image for this project. This will give it a nice translucent quality and remove any text from the back. The type of paper used in pre-1909 books works well with this technique. After this date paper manufacturing changed. You can try a newer image but it may just turn to mush.
Dunk the paper in your cup of water and turn the image face down on a small piece of glass. As you begin gently rubbing with your finger, the paper will begin to pill and rub away. You will rub off any text on the back of your image and begin to see the image through the paper.
This is a real trial and error process, when you feel the paper has been thinned enough, stop rubbing and lay it on a paper towel to dry.
CAUTION! Just when you think you are almost there, you will rub a hole right through your precious image. I do this frequently. Practice Practice Practice before you try it on the image you want to use.

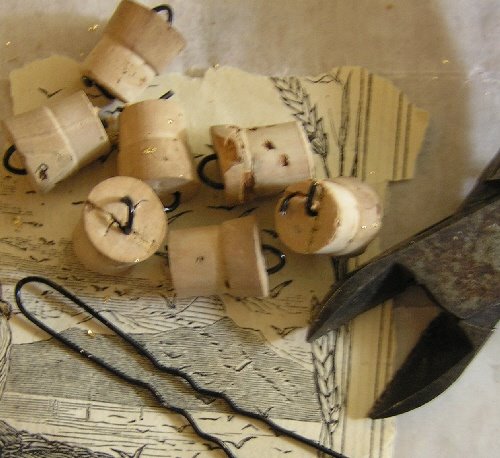
While your image is drying create the wire loop in the cork top for hanging.
Cut the top of an old bobby pin or paper clip or bend wire in a U shape. Press the ends into the top of the cork to create an indentation. Remove and use the sewing needle to pierce all the way through the cork at each indentation. Now push the U shaped wire, bobby pin, or paper clip all the way through until the ends are protuding from the bottom of the cork.
Use jewelers sized needle nose pliers to bend the wires at right angles and clip with wire cutters as necessary.

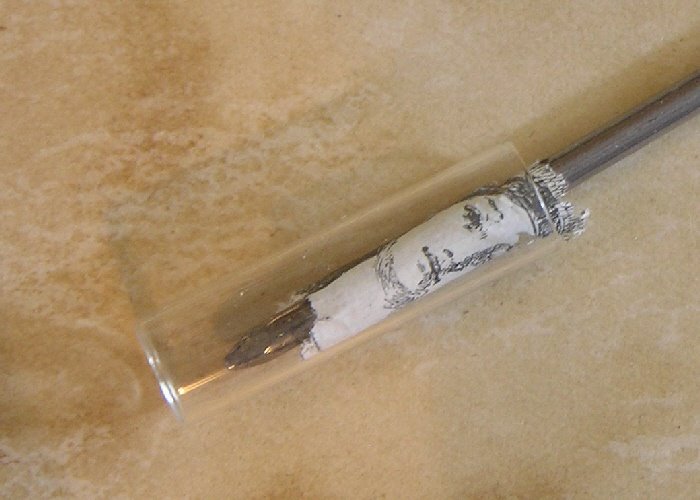
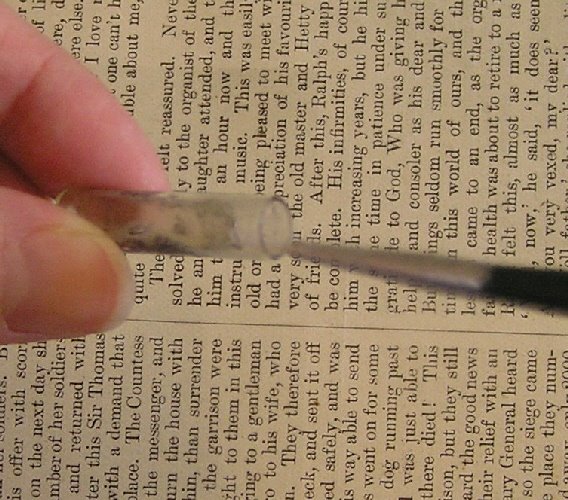
Curl the dry image around a nail and insert into the vial:

Thin your craft varnish with equal parts water. Only a few drops are necessary for one little charm like this. I tend to put a few drops on a flat surface and drop water off the end of my paint brush. Mix well.
Brush the reverse side of the image pressing it to the glass as you work. Be sure the paper is saturated, but do not use an excessive amount. Lay the vial on its side, image side down until it is dry. This may take an hour (good time to clean the work space or better yet, start another project!)

Next you will metal leaf the bottom of the vial. Brush the metal leaf adheasive over the outside bottom and around the bottom edge where you want the leaf to be. Remember this is glass and the adhesive may drip so use it sparingly.
Turn the vial upside down to dry. When the adhesive is clear it is ready.

Gold leafing is a lot of fun!
Stick the vial bottom side down on a sheet of leaf and press it around the edges where the adhesive has been applied. Using your stiff dry brush, brush off the excessive leaf. I like to brush it off over a cup or container in order to reuse the crumbs for another project.

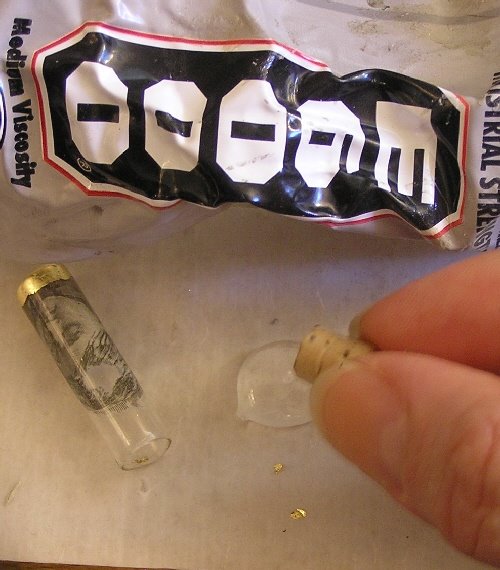
Next insert the cork, securing with a glue such as E600 or a small amount of 2-part epoxy. Wipe any excess off after the cork has been inserted.

Now repeat the steps for the metal leafing around the top of the vial and the cork:

Your charm is ready for the jump ring. Enjoy!